Hellena Prison
| Hellena Prison | |
| [[File:|256px|center]] | |
| Services |
|
| Collectibles |
|
| Combat |
|
| Unique Locations |
|
Hellena Prison is an island prison on the southern coast of Serdio. A single drawbridge is the only way in and out. The drawbridge leads into a mouth-like structure as the black stone island is carved in the resemblance of a head. Its eyes and skull-like nose glow with fire and black smoke rises from several points. Guards patrol nearly every room, attacking intruders without hesitation. Their leader, Fruegel, is a man who greatly abuses his power. Under his rule, the prison's reputation is one of cruelty, where prisoners who go in, never come out.
Story
After making his way through the Forest, Dart arrives at the Hellena Prison path. The path to the prison is incredibly narrow and leads to a single drawbridge with no cover. Dart hesitates, considering a plan. Fortunately, a merchant's caravan arrives shortly after him. Dart tails the caravan and hides behind the merchandise.
At the gate, The Merchant converses with the guard, explaining that his wares include "meat and fish." Dart meanwhile hides on the side of the caravan opposite to the guard's tower. The Merchant asks about the increased demand for food shipments, which the guard dismisses aggressively as he begins his search of the caravan. Dart is successful at sneaking around the guard during the search. The guard returns to his tower, permits entry, and Dart dives into the back of the caravan to cross the drawbridge into Hellena Prison.
Read More
After safely entering Hellena Prison, Dart jumps out of the caravan and startles The Merchant, who calls out in fear and quickly is followed up by a guard. A fight ensues. Making short work of the guard, Dart assures The Merchant that he will not be harmed and the Merchant swears to secrecy. Dart is now able to buy items from The Merchant. Outside the stables, guards patrol in rhythmic paths.
Dart ascends the prison through the means of a pully elevator system, located outside of the prison cells. The elevators and flooring are uneven wood construction on brick or carved stone. Fire torches light the hallways and exterior entryways. Once Dart enters the prison tower on the first floor, there is the guards' immediate alarm and a cutscene begins. Two guards are harassing their new prisoners, knights of Basil, taunting them and eluding that they will soon be fed to Freugel's monster. A fight breaks out as a prisoner attempts to escape. Running in from an adjacent hallway, a strong spearman in green defends the knights from the guards and orders them to continue on to the castle. Unfortunately, additional Hellena guards intercept the escaping knights. The prisoners are thrown off the floor and to their deaths.
Dart joins the fight and is quickly introduced to the spearman, who is the honorable Lavitz Slambert, Head of the First Knighthood in the Kingdom of Basil. They fend off guards together before Lavitz turns on Dart, spear clashing with sword. Dart quickly introduces himself, explaining that "he is not the enemy." They fight off another wave of guards before they can discuss their reasons for being in Hellena Prison in depth. Dart explains his need to rescue Shana and Lavitz insists that they travel together to ensure their ability to escape.
They travel together, eventually questioning why Shana was the only one with specialized security and the only one imprisoned from Seles. The key on top of the crate obtained, they travel to an adjacent prison tower, fight off more guards, and unlock Shana's door. Lavitz keeps watch as Dart enters. Shana had heard the commotion and recognized Dart's voice. She is happy to see her friend after five years, and the two reconcile as the soundtrack plays Shana's Theme. After, Shana and Dart leave the cell and rejoin with Lavitz. Outside more guards have arrived.
After the battle, Dart is worried about Shana and fusses over her. Shana counters that she is no longer a young girl and insists that she can fight for herself. Shana draws a bow that was resting outside a nearby cell. Lavitz is impressed that both she and Dart survived in Hellena, commending Shana's strength, but Dart cannot imagine Shana as any different from the childhood friend from his memory whom he must protect.
Meanwhile, Freugel has been alerted of the party's escape. In his anger, Freugel throws one of his men from the skyline bridge. Freugel barks to the other guard to recapture the girl, alive, as explicitly ordered by Emperor Doel.
Together, the group returns to the first floor but are intercepted by the Warden Fruegal, who eludes that he will defeat them and feed the men to his pet. The evil warden is sure to include that although capturing Shana was an order from Majesty Doel, because the task was so trivial, destroying Seles was an additional command from Fruegel himself. Dart lashes out in anger and combat begins. Fruegal is not killed in the altercation, but this allows the party to escape the prison opportunistically and flee to the Prairie by horseback. Fruegel's men are hot on their tail.
After their escape, Fruegal and the mysterious black-robed Hooded Man discuss the warden's failure to keep the girl. The Hooded Man demands Fruegel to mend his mistakes; otherwise, he will tell the Emperor. The mistake is not dire, it is assured. The Hooded Man calmly reports that all is going according to plan.
Revisited
- This is copy-and-pasted from Albert's Story section. It will need to be described in better detail and the character's perspective must be removed.***
Dart, Shana, Lavitz, Rose, and Haschel rush to the king's rescue. Upon entering Helena Prison, there is a cutscene where King Albert is shown being held captive on the roof of Helena Prison by the cruel head warden, Fruegal. Fruegal threatens that he will kill King Albert at sunrise should The Hooded Man not appear to stop him, as they only need the king's body. King Albert refuses to speak to Fruegal until Fruegal goads him with the idea that anyone who comes to the king's aid will be killed. King Albert then becomes animated, imploring that no one be hurt as those were the terms of which he agreed to submit to capture. Hearing a report that Dart and Lavitz were seen on the prison grounds, Fruegal insists that he will kill King Albert and the rescue party and laughs maniacally, ending the cutscene.
(The party fight guards, travel on elevators at a different section of the Prison, and must fight Fruegal's Pet, Jiango.)
The party fight their way to the roof of Hellana Prison by dawn, just as Fruegal is pulling his club back to complete the promised coup de grace. Shana intercepts the blow with an arrow shot, initiating the final battle against the leader of Hellena Prison. Fruegal is slain, once and for all. The battle over, the party are startled to hear the king cry out in pain. The Hooded Man had entered during the fight and was stealing the Moon Gem that had been sealed inside of the king. Lavitz lunges to intercept, doning his dragoon armor and diving at The Hooded Man. Tragically, Lavitz is cut down by The Hooded Man in one blow with what Rose will later explain is a Dragon Buster sword. The Hooded Man, revealed to be the undefeatable hero Lloyd, escapes, leaving the party to mourn their lost member. The dragoon spirit leaves Lavitz and flies into the air to find its next chosen one, only to return and float before King Albert. The king accepts the stone and leaves the prison with the party.
Collapse story content
Services
Shops
First Visit
- Items
| Cost | Name |
|---|---|
| 10 | Healing Potion |
| 30 | Angel's Prayer |
| 10 | Spark Net |
Second Visit
- Items
| Cost | Name |
|---|---|
| 10 | Healing Potion |
| 50 | Sun Rhapsody |
| 30 | Angel's Prayer |
| 20 | Mind Purifier |
| 20 | Midnight Terror |
| 20 | Thunderbolt |
Collectibles
Goods
Main article: Goods
| Name | Location | Image |
|---|---|---|
| Prison Key | Key to the second prison tower where Shana is held. | (Image) |
Treasure Chests
Main article: Treasure Chests
First Visit
| Contents | Location | Image |
|---|---|---|
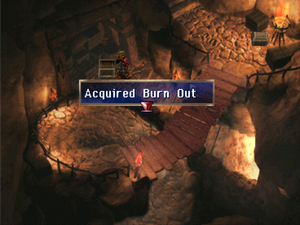
| Burn Out | Example | |
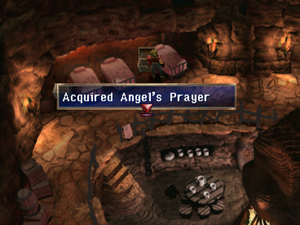
| Angel's Prayer | Example | |
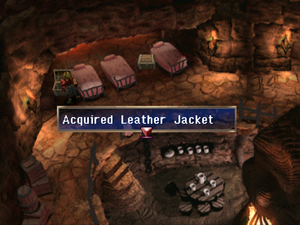
| Leather Jacket | Example | |
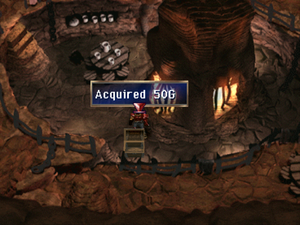
| 50 G | Example | |
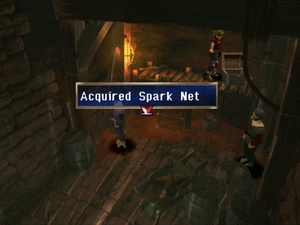
| Spark Net | Example | |
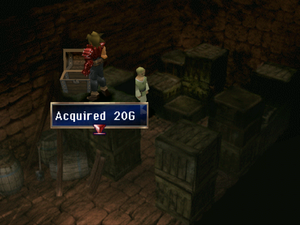
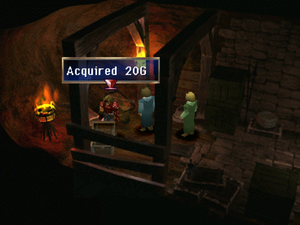
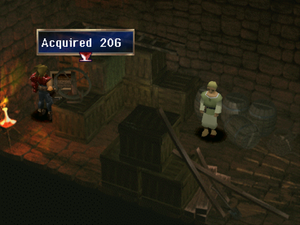
| 20 G | Example | |
| 20 G | Example | |
| 20 G | Example |
Second Visit
| Contents | Location |
|---|---|
| Felt Hat | Example |
| Therapy Ring | Example |
| Leather Armor | Example |
| Pandemonium | Example |
| Thunderbolt | Example |
| Silver Embroidered Vest | Example |
| Healing Potion | Example |
| Sachet | Example |
| Healing Potion | Example |
| Broad Sword | Example |
| Spear | Example |
| 20 G | Example |
Combat
Minor Mobs
First Visit
| Name | Element | Exp. | Gold | Drops |
|---|---|---|---|---|
| Hellena Warden | Fire | 6 | 9 | None (verify) |
| Senior Warden | Fire | 0 | 0 | Healing Potion (100%) |
Second Visit
| Name | Element | Exp. | Gold | Drops |
|---|---|---|---|---|
| Hellena Warden | Fire | 20 | 15 | Morning Star (2%) |
| Senior Warden | Fire | 24 | 18 | Spear (2%) |
| Fowl Fighter | Fire | 16 | 9 | Mind Purifier (8%) |
Battle Formations
| Unit A | Unit B | Unit C |
|---|---|---|
| Hellena Warden | Hellena Warden | Hellena Warden |
| Example | Example | Example |
| Example | Example | Example |
| Example | Example | Example |
Bosses
Trivia
- A
- B
